The interior painting tips that matter most are simple: prepare the surface thoroughly, use a quality primer and paint suited to the room, cut in before you roll, and apply thin, even coats while keeping a wet edge. Most amateur-looking walls come from rushed prep, not poor brushwork. In this Metromsk.Com guide we walk through each stage so your DIY job looks like a pro did it.
Key Takeaways
- Spend most of your time on prep: cleaning, patching, sanding and taping.
- Match the sheen to the room, with flatter finishes for ceilings and tougher, wipeable sheens for kitchens and baths.
- Cut in edges first, then roll in sections while the cut-in line is still wet.
- Two thin coats almost always look better than one heavy coat.
- In older homes, check for lead paint before sanding or scraping.
Plan the Job Before You Open a Can
Start by choosing your colors in the actual room. Paint samples look different under morning light, evening lamps and overhead fixtures, so tape large swatches to several walls and check them over a day or two.
Measure the walls to estimate how much paint you need, and buy a little extra for touch-ups later. Write the color name and sheen on the lid or keep the receipt, because matching a shade months later can be tricky.
Choose the Right Sheen
Sheen affects both durability and how much a finish shows flaws. Use this table as a starting point for each room.
| Sheen | Look | Best for | Trade-off |
|---|---|---|---|
| Flat / matte | No shine, hides imperfections | Ceilings, low-traffic bedrooms | Harder to wipe clean |
| Eggshell | Soft, low glow | Living rooms, hallways | Shows some surface flaws |
| Satin | Smooth, velvety sheen | Kitchens, kids’ rooms, family rooms | Brush and roller marks show more easily |
| Semi-gloss | Noticeable shine | Trim, doors, bathrooms | Highlights dents and patches |
| High-gloss | Reflective, almost glass-like | Cabinets, accent trim | Requires near-perfect prep |
If you want something more dramatic than a solid color, our piece on designer paint finishes explains techniques like color washing and textured effects.
Gather the Right Tools
Good tools make a visible difference. Cheap brushes shed bristles and leave streaks, and thin roller covers do not hold enough paint for an even coat.
- An angled sash brush, about two to two and a half inches wide, for cutting in
- A roller frame, extension pole and roller covers with a nap suited to your wall texture
- A paint tray or a five-gallon bucket with a roller grid
- Painter’s tape, drop cloths and plastic sheeting
- Spackle, a putty knife, fine-grit sandpaper or a sanding sponge
- A mild cleaner, a bucket and lint-free rags
Prep Like a Professional
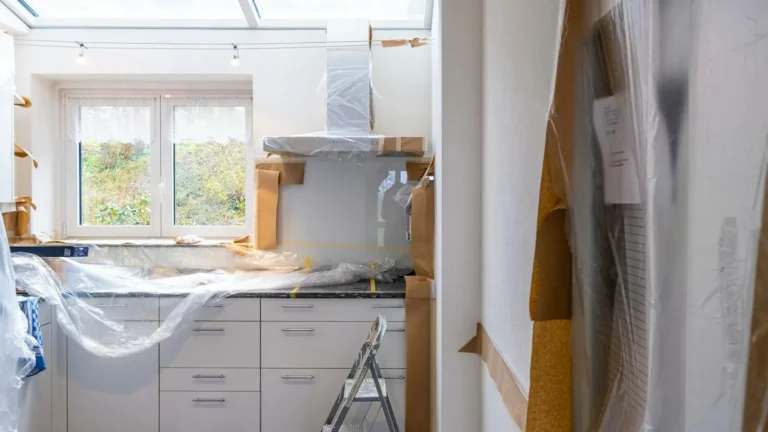
Professional painters often spend more time preparing than painting. Clear the room or move furniture to the center and cover it, then lay drop cloths along every wall.
Remove outlet covers and switch plates, and keep the screws in a labeled bag. Wash walls to remove dust and grease, especially in kitchens, where residue keeps paint from bonding.
Patch, Sand and Tape
Fill nail holes and dents with spackle, let it dry, then sand it flush with the wall. Run a hand across the patch; if you can feel an edge, the paint will show it. Wipe away sanding dust before moving on.
Apply painter’s tape along trim and ceilings, pressing the edge down firmly with a putty knife so paint cannot bleed underneath.
Check Older Homes for Lead
Sanding and scraping old paint is not always safe. According to the CDC, homes built before 1978 are likely to have some lead-based paint, and activities like sanding can create hazardous lead dust. If your home is that old, test the paint before you disturb it, and consider a certified professional for any surface that tests positive.
Prime When It Counts
Primer is not always required, but it solves several common problems. Use it over fresh drywall or large patches, when making a big jump from dark to light colors, over glossy surfaces, and on stains from water or smoke.
Primer creates an even base so your topcoat dries to a uniform color and sheen. Skipping it on patched areas is a frequent cause of “flashing,” where repairs show through as dull spots.
Painting Technique for a Smooth Finish
Work from the top down: ceiling first, then walls, then trim and doors. That way drips land on surfaces you have not finished yet.
- Cut in: brush a band of paint about two to three inches wide along the ceiling, corners and trim.
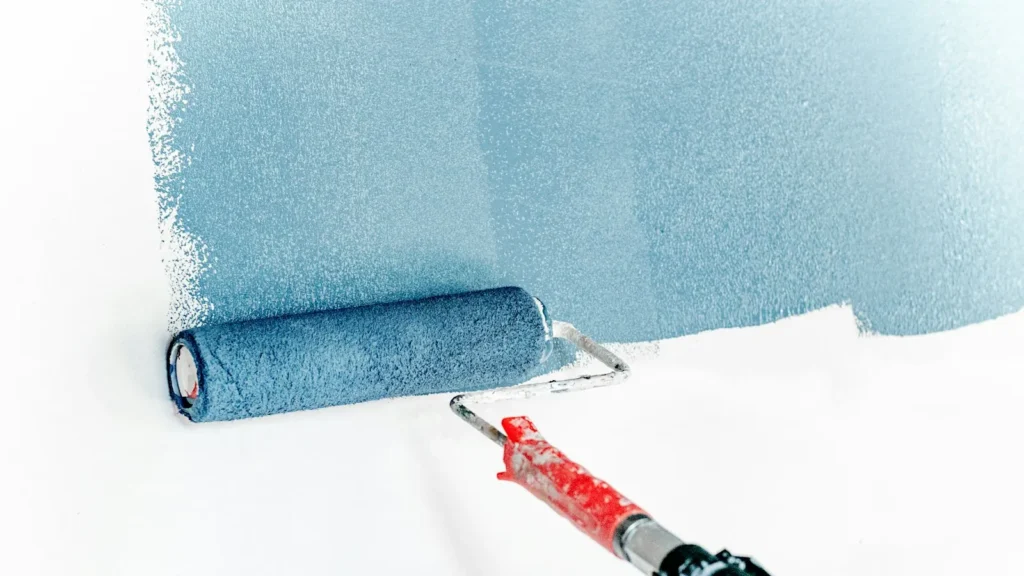
- Roll while wet: roll the wall in sections soon after cutting in, so the brushed band blends into the rolled area.
- Use a “W” pattern: roll a loose W or M shape, then fill it in without lifting the roller.
- Keep a wet edge: always overlap into paint that is still wet to avoid lap marks.
- Finish with light passes: make a final, gentle top-to-bottom stroke to even out texture.
- Let it dry: follow the label for recoat time before applying the second coat.
Pull tape while the final coat is still slightly soft, at a low angle, to get a crisp line without peeling dried paint off the wall.
Keep the Air Moving
Open windows and run a fan pointed outward to help paint dry and to reduce fumes. Take breaks in fresh air, and keep children and pets out of the room until the paint has dried.
Clean Up and Store Leftovers
Clean brushes and rollers right away with water for latex paint or the solvent the label recommends for oil-based products. Wrap tools in plastic if you will use them again the same day.
Seal leftover paint tightly and store it somewhere it will not freeze. Follow your local rules for disposal; many communities have household hazardous waste programs for paint.
Where Painting Fits in a Bigger Project
Paint is often the last step of a renovation and the one that makes it feel finished. If you are updating a whole room, our kitchen remodel planning guide and these ideas for simple bathroom renovations show where paint belongs in the schedule. You will find more projects in our home improvement section and decor inspiration under lifestyle.
The team at Metromsk.Com recommends painting one small room first, like a closet or powder room, to practice your technique before tackling a living room.
Frequently Asked Questions
Do I really need two coats of paint?
In most cases, yes. A second coat evens out color, hides roller marks and gives the finish its full durability. One-coat claims can work when you repaint a similar color over a clean, primed surface, but large color changes, patched walls and bright or deep shades usually need two coats for a uniform result.
Should I paint the ceiling or the walls first?
Paint the ceiling first. Drips and roller spatter fall downward, so finishing the ceiling before the walls means any mistakes land on surfaces you have not painted yet. After the walls, finish with trim, doors and baseboards, which are easier to cut in cleanly against already painted walls.
How do I avoid lap marks and streaks?
Keep a wet edge by rolling into paint that has not started to dry, and work in manageable sections from top to bottom. Load the roller evenly, avoid pressing too hard, and do not go back over areas that have begun to set. Painting in moderate temperature and humidity also helps.
When is it better to hire a professional painter?
Consider a pro for very high ceilings, stairwells, extensive drywall repair or homes that may contain lead paint. Cabinets and high-gloss trim are also tricky because they reveal every flaw. If time is limited or the space is large, a professional crew may finish faster with more consistent results.
For more step-by-step home projects, visit more guides on Metromsk.Com.